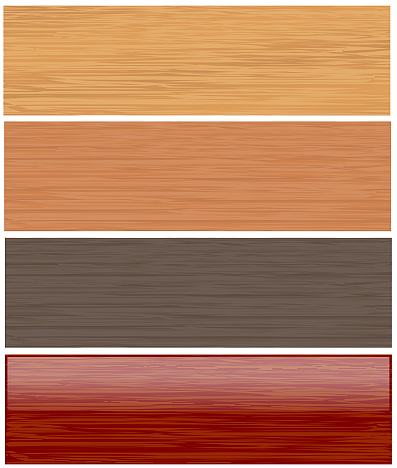
The following tutorial is the engish version of the tutorial written by chrisdesign published by him (coco) on inkscape-forum.de. There is also a Portuguese translation of the tutorial on the inkscapebrasil forum.
This is a very quick and easy tutorial.
First, choose the calligraphy tool ( )
)
The most important setting to get correct here is the “thinning” set it to about 0.30
Now, draw your “woodgrain” pattern. (make sure you only draw 1 line with the calligraphy tool to create this pattern.)
Now, draw a rectangle of your background colour, and duplicate the rectangle (rightclick>duplicate)
Select one of the rectangles and the woodgrain pattern, and choose path>intersection.
You should end up with one path of woodgrain and one of background colour.
All that is left is to play with colours and various after-effects:
chrisdesign has used this technique in creating his drawings of “Gibson” guitars.
(yes, these images are for real, fully drawn by chris using inkscape…)


Chris has also done another tutorial in this series, where he uses this same tecnique to create a brushed steel effect, so keep your eyes peeled for that one…
Links and Resources:
http://twiki.softwarelivre.org/bin/view/InkscapeBrasil/TutorialTexturaDeMadeira


